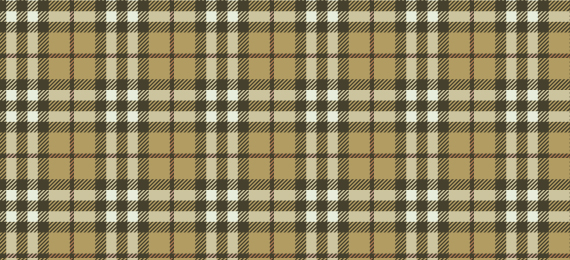
Last month I discussed how to Create a Burberry Style Plaid with Illustrator in 4 Steps. Creating a basic plaid in Illustrator is fun and easy but some of you may have noticed (especially those of you who work in the fashion industry) that there was an essential component of creating a plaid that was missing; the simulated twill. For those of you who don’t know what a twill is, a twill, is a type of fabric woven with a pattern of diagonal parallel ribs. If you take a look at most of your plaid shirts you will see a twill pattern woven into the fabric.
In this tutorial, I plan to show you how to simulate this effect in Illustrator. I should warn you that while the previous plaid tutorial was relatively simple, this effect takes a bit longer to achieve and involves quite a few more steps.
Let’s Get Started!
In this tutorial I am not going to go through the basics of creating a plaid. If you would like to learn more about the basics of creating a plaid take a look at my previous tutorial. For the purposes of this tutorial, let’s assume that you already have a basic pattern in mind and you simply want to add some more realism to it by adding a twill pattern.
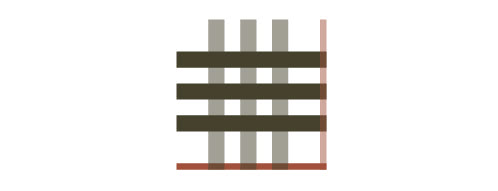
 For those of you who haven’t already created a plaid of your own, download the lesson files and open the burberry-twill-start.ai file. When you open the file, you will see that the basic plaid that I already created that’s composed of two identical groups of rectangles with one group rotated 90 degrees counter clockwise and with its opacity set to 50%. We will use this object as a guide to create our new swatch.
 0Our first step should be to duplicate our plaid and to delete the group with the reduced opacity.
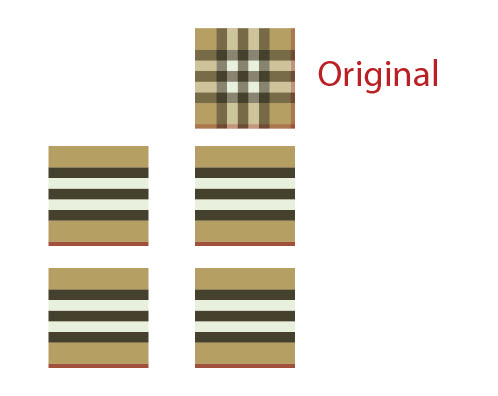 Once you’ve deleted the vertical rectangles you will now want to duplicate the horizontal rectangles 3 times as shown. You will be using these to create your diagonal overlays.
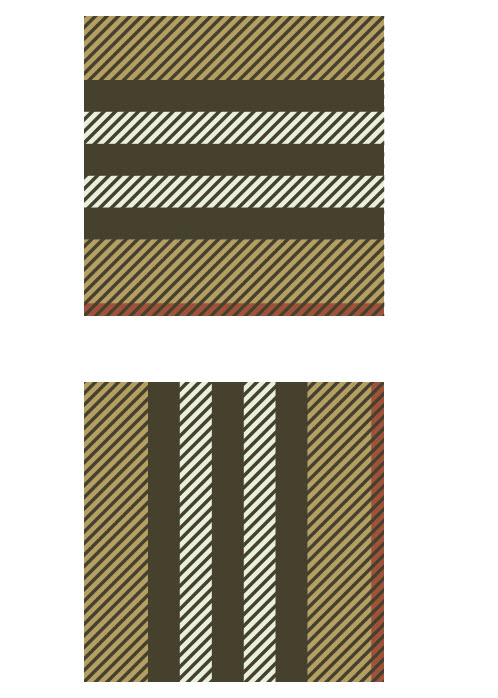
 Select the bottom two sets and rotate them 90 degrees counter clockwise as shown.
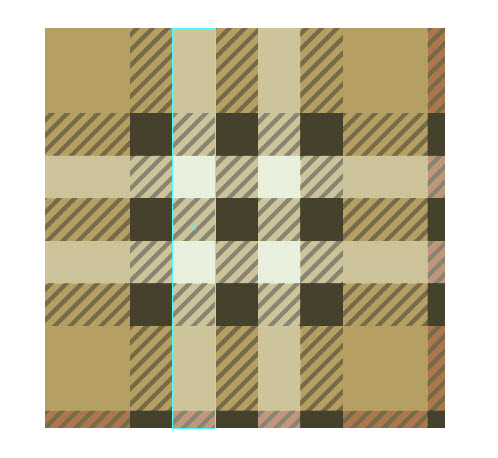
 Once you’ve rotated your shapes, we’re now at the point where we need to decide where we will place the twill patterns. The best place to do this is with the darker stripes.
In the lesson file that I included in this tutorial I also included a block of diagonal lines. This block of diagonal lines is special in that it is seamless and tileable. If you’ve ever looked at a twill pattern, you may notice that the diagonal stripes line up. So in order to make your plaid look right your diagonal lines must be completely seamless; otherwise you will notice where the tiles come together. Think of this swatch as two completely separate patterns overlaid on top of each other. Both patterns will repeat at the same time and therefore must fit perfectly together. For more seamless diagonal lines you can download this set 55 Seamless Line & Crosshatch Swatches.
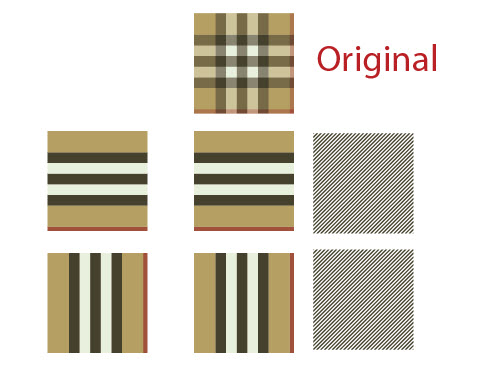 Your first step is to duplicate the diagonal lines as shown.
 Now drag the diagonals on top of each square as shown. In this step it is important to make sure that each set sits perfectly on top of each other. If they don’t line up properly, the final product will not look right. You can line them up perfectly either by using smart guides or by aligning them to their centers.
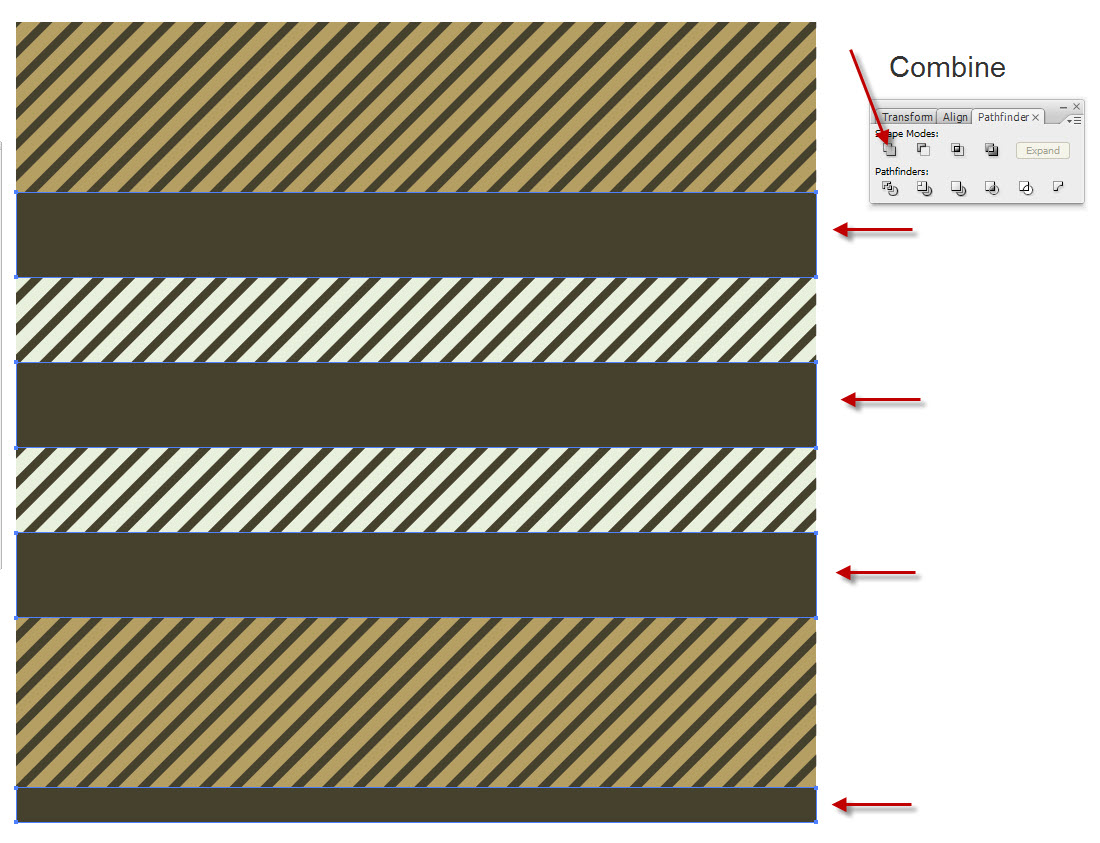
::__IHACKLOG_REMOTE_IMAGE_AUTODOWN_BLOCK__::1As you can see we have now overlaid our diagonal stripes on top of our objects but this screenshot is slightly misleading. At this stage we now want to intersect the diagonals with darker shaded stripes. To do this however we will first need to ungroup all the rectangles, then select the rectangles as shown and finally use the pathfinder palette to combine them as shown.

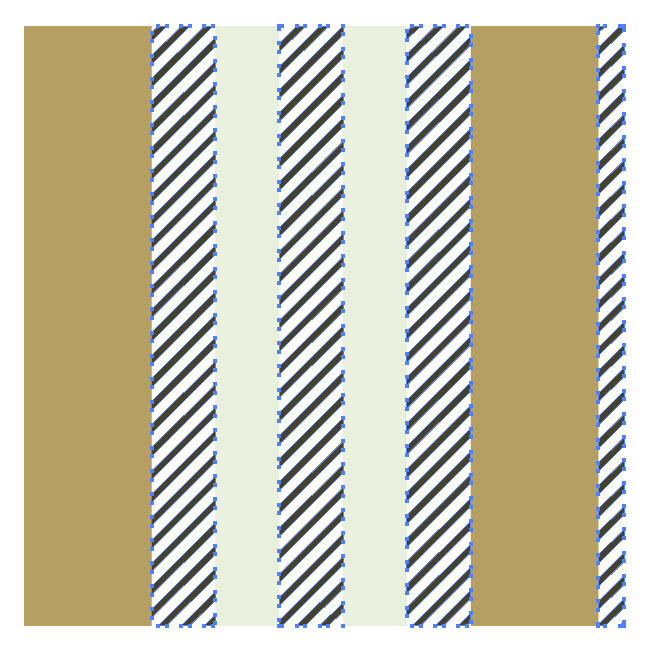 Now intersect the new compound shape with the diagonals. Your shape should now look as shown. Repeat the above steps with the vertical stripes.
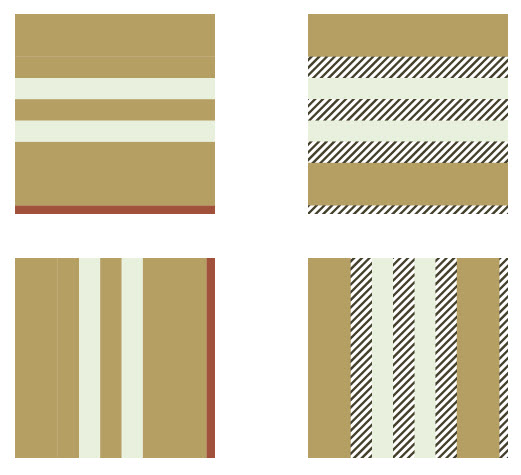 Now that you have created your twill pattern you will now want to edit the colors of the squares to the left. In this step simply use your eye dropper to edit the colors of the stripes as shown.
 Now we can simply drag our twill patterns on top of our other pattern as shown. You can delete the left over shapes from the other two sets.
 .jpg” data-mce-src=”https://web.archive.org/web/20120209193749im_/http://colorburned.com/imagestutorialsburberrytwill/0014.jpg” width=”498″ height=”239″>Now let’s group both sets of stripes and align them both to the center. After that set the top layer’s opacity to 50%. Your plaid should now look as shown.
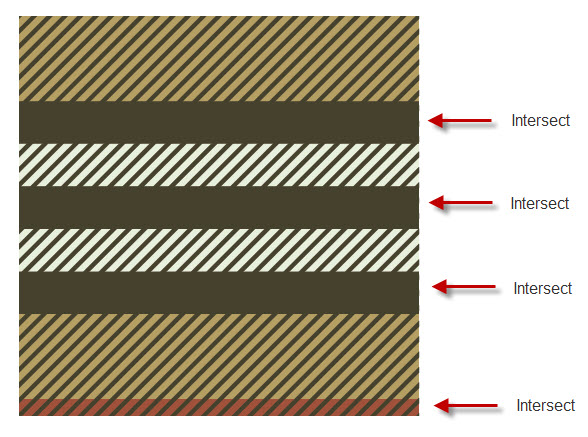
Right now our plaid looks pretty good but we’re not finished yet. If you’ve ever taken a good look at a plaid you will notice that they are opaque where the stripes intersect. To do this, grab your original plaid and duplicate it again as shown.
Now delete the rectangles as shown.
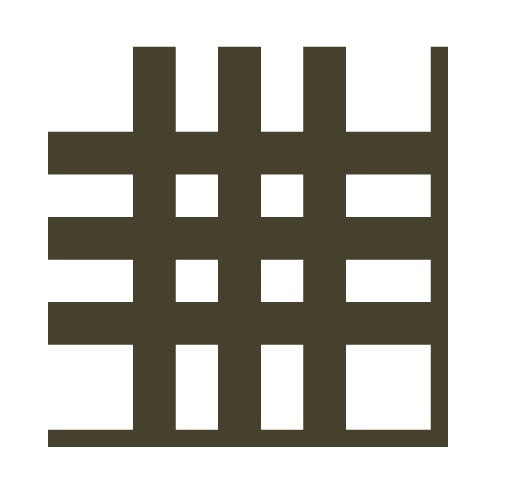 Select all the horizontal lines and combine them using the pathfinder palette. After that, select all the vertical lines and combine them as well.
 Now let’s intersect both compound shapes as shown.
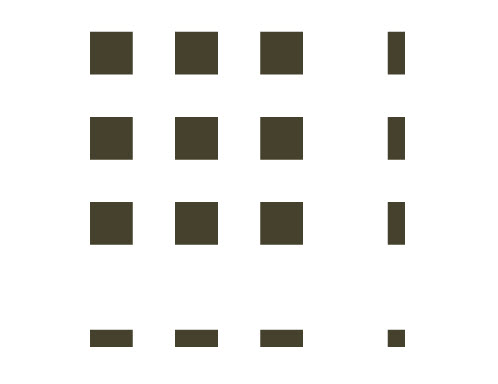
 Drag the intersected shape on top of the previous plaid as shown.
 At this point, we’re almost done but not quite. We want the diagonal lines to be the same color as the squares that we just created. To do this simplly select the diagonal lines and combine them using the pathfinder palette. After that, bring the diagonals to the front. Your plaid should now look as shown.
Create the Swatch
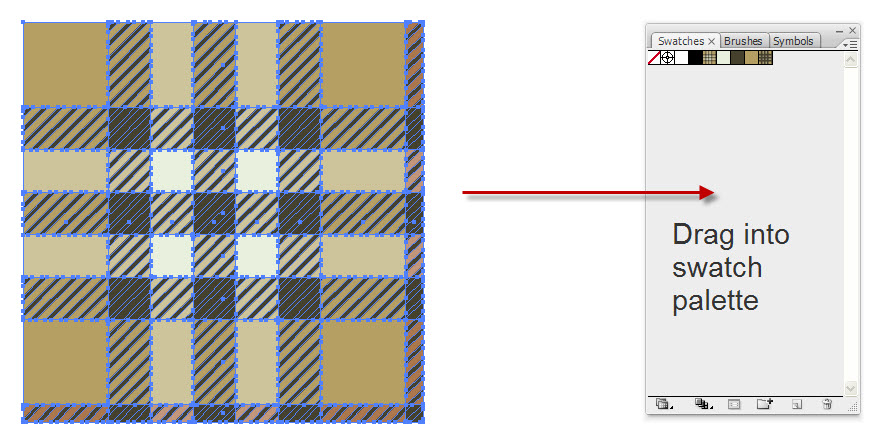 To create the swatch, simply drag the plaid into the swatches palette.
Apply the Swatch
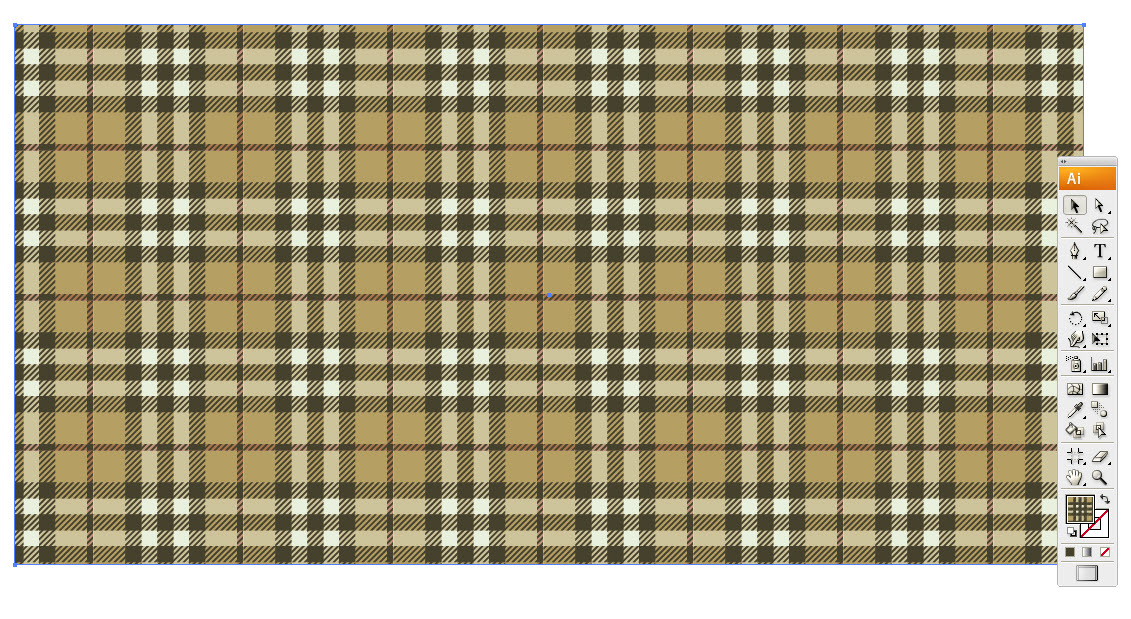 To apply the swatch, simply draw out a square and apply the swatch as a fill.
Final Image


Last month I discussed how to Create a Burberry Style Plaid with Illustrator in 4 Steps. Creating a basic plaid in Illustrator is fun and easy but some of you may have noticed (especially those of you who work in the fashion industry) that there was an essential component of creating a plaid that was missing; the simulated twill. For those of you who don’t know what a twill is, a twill, is a type of fabric woven with a pattern of diagonal parallel ribs. If you take a look at most of your plaid shirts you will see a twill pattern woven into the fabric.
In this tutorial, I plan to show you how to simulate this effect in Illustrator. I should warn you that while the previous plaid tutorial was relatively simple, this effect takes a bit longer to achieve and involves quite a few more steps.
Let’s Get Started!
In this tutorial I am not going to go through the basics of creating a plaid. If you would like to learn more about the basics of creating a plaid take a look at my previous tutorial. For the purposes of this tutorial, let’s assume that you already have a basic pattern in mind and you simply want to add some more realism to it by adding a twill pattern.
In the lesson file that I included in this tutorial I also included a block of diagonal lines. This block of diagonal lines is special in that it is seamless and tileable. If you’ve ever looked at a twill pattern, you may notice that the diagonal stripes line up. So in order to make your plaid look right your diagonal lines must be completely seamless; otherwise you will notice where the tiles come together. Think of this swatch as two completely separate patterns overlaid on top of each other. Both patterns will repeat at the same time and therefore must fit perfectly together. For more seamless diagonal lines you can download this set 55 Seamless Line & Crosshatch Swatches.
::__IHACKLOG_REMOTE_IMAGE_AUTODOWN_BLOCK__::1As you can see we have now overlaid our diagonal stripes on top of our objects but this screenshot is slightly misleading. At this stage we now want to intersect the diagonals with darker shaded stripes. To do this however we will first need to ungroup all the rectangles, then select the rectangles as shown and finally use the pathfinder palette to combine them as shown.
Right now our plaid looks pretty good but we’re not finished yet. If you’ve ever taken a good look at a plaid you will notice that they are opaque where the stripes intersect. To do this, grab your original plaid and duplicate it again as shown.
Now delete the rectangles as shown.
Create the Swatch
Apply the Swatch
Final Image
Poste
adminlogo